Monday, January 11, 2016

Review: The Balm's Meet Matt(e) Hughes Long Lasting Liquid Lipstick


Ok, so I may be a little late to the party on this one, but I'm finally here.. Why didn't anyone tell me how convenient liquid lipsticks are!? I recently got a matte liquid lipstick in my Ipsy bag and it's been pretty much all that I've been wearing!! 

The one.. And only.. One I have is from The Balm's Meet Matt(e) Hughes Long Lasting Liquid Lipstick and I can't really sing its praises more!!! First off, the shade I have, Committed, is my go to shade. I love the natural rosey shades and this is perfect! 

I always start out by lining my lips first. This gives me a bit of a guideline to make sure my lips look even. Then I apply the liquid lipstick.  The nice thing about using a liner, it allows you to manipulate the color of the end product a bit. 

What do I love about this product ..

1 - The color! It's an easy and every day shade!
2 - Easy to apply! 
3 - Quick drying! Plus when it drys, there is no transiting!!
4 - The smell! It's got this chocolate mint smell. It's not overwhelming and is gone as soon as it dries. 
5 - Long lasting!! I apply when I leave the house for work in the morning and don't have to apply all day!!

One thing I don't like; the typical cracking and drying out that liquid lipstick does.. Trick for that; apply just enough Chapstick that we moisturizer the lipstick and then it will reset and be like you just applied it!!

Below are two pictures I took with different lip liners to show how you can manipulate the color a bit to match your look!


I am definitely interested in trying out more shades in this line! This color specifically, I think should find a place in everyone's collection!!

Here's a link to The Balm's site! http://www.thebalm.com/meet-matte-hughes.html

Tuesday, December 1, 2015

Crockpot Taco Tortilla Soup


It's that time of year again where I feel the urge to use my crockpot for every meal! There's something about coming home from a long day at work on a cold winter day to a nice warm dinner already cooked for you. It's like the lazy girl's paradise!

My newest addition to my crockpot recipe arsenal is Chicken Tortilla Soup. A little bit ago, the boyfriend and I headed out to a friend's house to watch some college football (Go Griz!) and they had cooked chicken tortilla soup. Now, I know, I've apparently been living under a rock, but this was the first time I had had it. I was instantly obsessed, so good!

I immediately got the recipe:

1 - 4 chicken breasts, cooked and shredded
2 - 1 can black beans, drained and rinsed
3 - 1 package fajita seasoning 
4 - 1 jar salsa
5 - 1 can creamed corn
6 - 1 can mexicorn, drained (I couldn't find mexicorn, so I used fiesta corn, doesn't really matter)
7 - 1 can cream of chicken 
8 - 1 small carton half & half

Combine all ingredients in the crockpot and stir, cook on low for 4-5 hours. Serve over tortilla chips with sour cream.

Now, the day we had it, they had just mixed everything up on the stove, but the recipe called for it to be used in the crock pot. I made a few modifications to make it so that it could cook for longer. When I make crockpot meals, I start it when I leave and it cooks for about 8 hours before I'm home again.  What I did to make this work; 

1 - Started with frozen uncooked chicken
2 - Added just a bit (probably half a can) of chicken broth to everything else. 

Cooked it all on low while I was at work and when I came home, instant dinner! Yum! Just add some sour cream, cheese and tortilla chips!

What are your favorite slow cooker recipes!? Please share, I'm always looking for new ones!!

xoxo,
 Mikal-Anne 


Wednesday, October 21, 2015

Things I love - Ebates!


Hey lovelies! I know I've been MIA as of late, I honestly don't know where the time has gone!  With the holiday seasons gearing up, I'm hoping to have more regular posts to share.  I've got the planning all in motion for some fun posts!  Now, while I've been planning out some blogs, and thinking specifically of things for the holidays I thought of something else that I wanted to share....  Ebates! I'm sure everyone has heard about Ebates and is signed up... but if you're not, you should! This is how it works and why I love it.
Ebates is a site that offers essentially cash back for shopping online.  Online stores like Target, Amazon, Ulta, and even Etsy partner up with Ebates and will provide a cash back through Ebates when you are directed to their store's online site by Ebates
This is what Ebates has to say:

"Ebates is the pioneer and leader of online cash back shopping. Ebates pays members cash back every time they shop online as well as provide them with the best coupons and deals online. Founded in 1998, Ebates Inc.'s websites have paid over $250 million in cash to its members. That's why millions of people have joined Ebates, and we're excited you are ready to start earning cash back, too."

So, whenever I'm doing some online shopping, I check Ebates website first to see if there is a cash back option.  Usually it's between 1-4%, but I've seen as high as 10% and 20%.  If the store I'm planning to shop with has a cash back option, I click on it and Ebates redirects you to the store's site.
This website has totally changed how I do my shopping.  If there are things that I order regularly, like makeup, laundry or dish soap ... or anything thing else, I just order it online instead.  Usually the shipping is free, it's delivered right to my door (lazy girl heaven!), and I get paid to do it!
I wanted to share this before the holiday shopping season got into full swing because I've used it to do some Christmas shopping already and it's been awesome. 
A - I'm being way more productive and on top of things than any other Christmas,
B - It's delivered straight to my door, and
C - I'm earning money for something that I would have to spend money on anyways!
Now, I've included a link below that will take you to the Ebates site.  I will let you know that I do get credit for anyone who uses the link and signs up.  This is something that anyone can get credit for.  Ebates rewards everyone who refers people.  I don't know how much it is per person, but wanted to let you know that it do get rewarded.


Even if you don't use my referral link, you need to check Ebates out.. it's a super cool site!!

Friday, July 31, 2015

Get Ready With Me Series Part 4 & Ulta Lip Crayon review


Welcome back!! I hope that everyone has had a great week!  I’m not going to lie, I am super excited for the weekend.  We have gone out of town for the last three weekends in a row! I feel like all I’ve done is pack, unpack, laundry, repeat!  I don’t know about anyone else, but being out of town can be exhausting!  I’m not complaining because I am really blessed to be able to be doing the things I’m doing, it just leads for busy weeks between work, and playing catch up from the weekend!

This weekend though, we have a wedding for one of the BF’s friends, that’s in town and that’s it!  I’m definitely looking forward to some down time!!

Now… onto the real reason you’re here!  The fourth and final installment of the Get Ready With Me and Review series!!  The last three weeks we have covered the look up to the point that my face look is done and we’re on to eyes and lips. 

If you missed the reviews, we’ve covered NYX HD Concealers (link), CoverGirl 3-in-1 Foundation (link), and HIKARI blush (link)

Today’s review will be on the Ulta Lip Crayon!!

Now, getting started on the look … I know some people do their make up in a different order, but I’ve always been a person who does my face, then eyes, and finish with lips.  Now that my face is done, let’s get started on the face!  Some of this may sound familiar because many of these products are ones that I used in my Every Day Smokey Eye look (link).  Today, however, I was going for a lighter look and so I left out some of the darker shades.


I start with the Mary Kay Eye primer – this happens to be what is in active rotation in my collection right now, I’ve used this for years!

Ulta eye shadow in Bermuda Sand - I apply this all over my eye lid and all the way up to my eye brow.  I use this shade pretty much every day.  Most of my eye looks have this as the base under everything!

Urban Decay eye shadow in Beware from the Oz Great & Powerful pallet - I take this on a big fluffy brush and apply it in my crease.

Urban Decay eye shadow in West from the Oz Great & Powerful pallet - I use this shadow to darken up my outer corner of my eye lid

I then go back in with Beware to buff out West and create a more natural transition.

Ulta eye shadow in Au Naturel – I also use this one every day. The light pink is the perfect shade to blend out the shadows and add just a bit of highlight under my brow.  Taking a big fluffy brush I buff and blend out the edge of the other shadows up to my eye brow. 

For my liner, I apply Revlon Color Stay eye liner in Brown to both my upper and lower lash line. Using the built in smudger to smudge out my lower lash line making sure to only going about 3/4 of the way into my inner corner.  I then use a brown eye shadow to set all of my liner to ensure it will stay all day.  Setting a pencile liner will also help soften any lines. 

Now the last part of my look… Mascara… and I am still using multiple mascaras.  I don’t think it’s possible to get one mascara that adds length, volume, and separates!  The three in rotation right now are:

Revlon Lash Potion by Grow Luscious in Blackened Brown
L'Oreal Paris Extra Volume Collagen Mascara in Black Brown

Almay One Coat, Get Up & Grow in Black Brown


Once my eyes are done, it’s now on to my lips…  Before I even start my makeup, I make sure to pay attention to my lips.  When I am applying my face moisturizer I also apply some to my lips.  Right now I just have a container of Carmex on my vanity that I apply.  This helps in a few ways.  First, by applying moisture to my lips, but also by creating a barrier.  This allows for me to apply all of my face products without staining my lips.  No one likes the foundation on your lips look!  Well, at least I don’t!  SO, once I’m done with all of my other makeup I wipe off my lips (this is usually because I’m brushing my teeth before work!) and then apply whatever lip look I’m going for.

A while back, I placed an Ulta order online and the thing I love about shopping online with Ulta is they send you samples.  Included in my order was a sample of Ulta’s Lip crayon. 

I was super excited when I opened the package and saw that it was a normal color and actually a color that I would purchase!  On top of that, it is a good product!  It has a good color pay out.  This shade is a my lips but better shade.  On top of that it’s creamy and lasts! 

The one thing I don’t like about some lip crayons are the ones that you have to sharpen!  Ugh, who has time for that!?  This one is in a tube that you just twist up when you need more.

This has become a staple in my routine.  It pretty much lives in my purse because I wear it almost every day to work and whenever I’m out and about and need to add some color.  It’s not a color that you really have to think about.  No liner or gloss needed.  Perfect for on the go application!

That’s it for my makeup!  As for my hair, it kept it simple. After blow drying I just used a straightener to quickly straighten out any kinks and to make sure that all of my ends were turned it.

Here's the before and after again!


Breaking it down into many blogs makes it seem like a lot of steps, but this is a really simple look.  Actually, it’s pretty close to my go to look when I just need to get out the door.  You look put together, but not overdone and it doesn’t take long to get out the door.

What does everyone thing of this series!? Is it something you’d like for me to do again?  Let me know!

Also – let me know if you have any products you want me to demo or review! I’m also up for suggestions!!

Are you ready for another review?!  I’ve been on a reviewing kick lately.  Lots of new things to share.  Next week I’m going to talk about Real Techniques’ Miracle Complexion Sponge and the best way I’ve found to clean it!

Until next time lovelies!

Xoxo,
Mikal-Anne


Friday, July 24, 2015

Get Ready With Me Series Part 3 & Hikari Blus Review


Welcome back!  Happy Friday!  We’ve successfully survived another week!! 

This blog is part three of the Get Ready With Me and Review series.  In a series of blogs, I've gone over what I've used to create the look you see below.  The last two weeks we have covered the NYX HD Concealers (link) and the CoverGirl 3-in-1 Foundation (link).  This week we will cover the HIKARI blush.


Now, before we get into the blush, I need to catch you up on the steps between the foundation and the blush.  As covered in the previous blogs, you know that I first use a concealer that matches my skin tone to conceal any problem areas, then I apply the foundation, and lastly I use a concealer that is a little lighter than my skin tone to lighten up areas of my face.  After all of that I apply something to set both the concealer and the liquid foundation.

To set my concealer I use Tarte Smooth Operator.  I got a small sample around the holidays with something I bought. It's perfect to set my concealer!

To set my foundation I use Revlon Nearly Naked Press Powder in 010 Fair.

Next I use NYX Matte Bronzer in Medium. This is a staple in my makeup routine.  I discovered it years ago and have probably used it with every single makeup application I’ve done since then.  I use this to do both bronzing and contouring.  I am not someone who does a very harsh contour.  This is mainly because I am so fair, that too harsh of a contour doesn’t look right. 

Finally, I apply the HIKARI blush in Tango.  I got this in my Ipsy bag back in April (link) and I’m not going to lie, when I saw it, I was very intimidated!  I think the best description for the color is an electric watermelon! I’m so glad that I didn’t let that get in the way of me trying the blush because I LOVE IT! 


This blush has such an amazing color pay out, but it would be really really easy to get that horrid 80’s blush look.  I’m sure you know what I’m talking about.  That super bright color applied very heavily to the cheeks.  That wasn’t even a good look then!

To avoid rolling around looking like someone who is trying to relive the 80’s; I have found the best way to apply this foundation is with a stippling blush.  This allows me to apply a sheer amount and build it up until I get the look I am going for. 

The color adds a nice pink to the cheeks and gives a healthy glow.  I think this shade is absolutely perfect for spring and summer!  I honestly think it would be good for most skin tones too.  It gives that pinched pink to your cheeks, almost as if they are naturally that color and you don’t have blush on at all.

After I apply my blush, I pair this with a bit of a highlight because the blush is completely matte.  This is great for people who have oily skin and want to stay away from the shimmery or sparkly shades.  Today I used the Mary Kay highlight, but I’m any highlight would do. 

Next week, for the final blog in this series, will cover what I did for my eye look and a review on the Ulta Lip Crayon that I got as a sample when I did my Ulta order.  If you’re interested in seeing the lip crayon, it’s included in the blog I did about my Walmart and Ulta haul (link).

Until next week!

Xoxo,

Mikal-Anne

Friday, July 17, 2015

Younique Moodstruck 3D Fiber Lashes Review


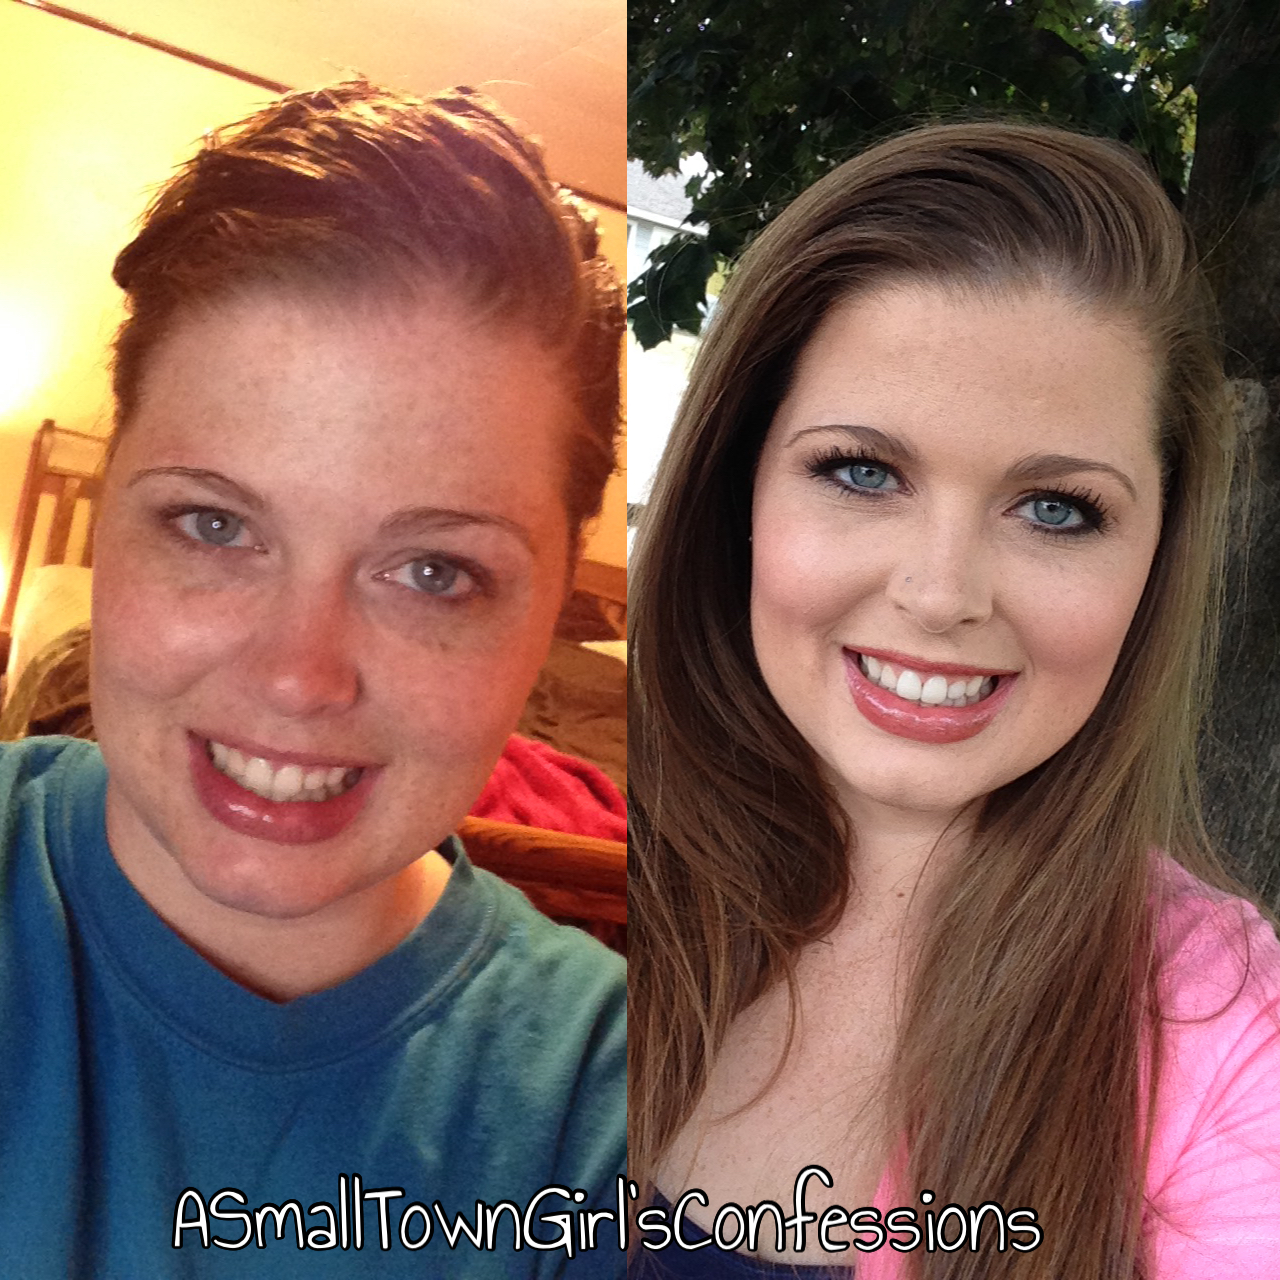
Good morning lovelies! How can it already be the middle of July!?  I know, I know, everyone says that.  But, seriously?!  Where has time gone?  Before we know it, snow will be falling… Well, for those of us who get snow!

Ok, I know you’re not here to listen to me talk about how fast time is going … I had been planning to do a review of the Younique Moodstruck 3D Fiber Lashes and with the launch of the new version, I figured this was a good week to do it!  I will continue the Get Ready With Me series next week.

A few weeks back I won a Younique Moodstruck 3d Fiber Lash Mascara set in a raffle.  I’m sure I’m not the only one who has seen Younique mascara everywhere.  I seem to be friends with a few people who are Younique representatives and have asked me a few times to try it out.  I’m not going to lie, I usually thought that it was either too expensive to justify purchasing because I have naturally fairly long lashes anyway.  However, winning it seemed like a good way to try it out!  

This is what Younique’s website (link) has to say

Go for up to 3x the wow factor with Moodstruck 3D Fiber Lashes that are water-resistant, yet wash off easily with Shine Eye Makeup Remover Cloths. This is quite possibly the most mood-altering, life-changing product in the cosmetics world!

And

Learn how Moodstruck 3D Fiber Lashes+, our enhanced formula, will increase your average lash volume by up to 400%*. To purchase your own 3D Fiber Lashes+, contact your Younique Presenter or go to www.youniqueproducts.com to find a Presenter.

Directions:

Three simple steps to long, sexy lashes
Apply an even coat of Transplanting Gel to lashes.
Immediately Apply Natural Fibers while Transplanting Gel is wet.
Seal the fibers with Transplanting Gel. Repeat until you've reached desired fullness.

Ingredients:

Transplanting Gel Ingredients: Water, Beeswax (Natural Propolis), Carnauba (Brazilian palm glue), Iron Oxide Cl 77499 (Black), Collagen, Acrylates Copolymer, Nylon, Stearic Acid, Propylene Glycol. .23 FL OZ / 7 ml

Natural Fibers Ingredients: 100% Natural Fibers taken from Green Tea. Net WT .02 OZ/ .5g.

Collagen is a type of protein that works with elastin to give skin its texture, structure, and appearance. It contains antioxidants, and may help add volume and shine to the appearance of eyelashes.

Water (Aqua) is the liquid of life! Hydrates and cleanses the skin, and works as a natural spreading component, helping to distribute other ingredients evenly over the skin.

Beeswax (Natural Propolis) is a brownish, resinous material collected by bees and believed to have antibacterial and anti-inflammatory properties.

Carnauba (Brazilian Palm Glue) is extracted and refined through a pressing and crushing process that turns the palm glue into an oil, creating the sticky nature of the transplanting gel. It is also believed to act as a natural preservative.

Iron Oxide Cl 77499 (Black) is a technical name for Black Iron Oxide. This naturally-occurring mineral acts a colorant, giving the gel its striking black color.

Acrylates Copolymer is an adhesive and binder, as well as a suspending agent.

Nylon is a powder substance that is used as an absorbent and thickening agent.

Stearic Acid (also known as Palmitic Acid) is an organic nutrient derived from palm trees that is often used to soothe and soften the skin.

Propylene Glycol is a humidifying and delivery ingredient.

I browsed the website a bit to get any information I could about how to best use this product.  They have a link to a few videos that seem to help.  I also checked out a friend of mine’s facebook page, Younique by Robyn (link). She has amazing how to videos for many of the Younique products, including the Fiber Lashes.  If you're interested in ordering, you should also check out her site (link).

So, after doing a bit of research I started my trial and error session. I do have to say, this is both an easy product and a hard product to use.  I know, that doesn’t make much sense, but this is way.  The steps are pretty much common sense.  First apply the mascara, then the fibers, then the mascara to set it all.  Here’s the thing, the mascara is a super wet formula.  Which I half expected it would have to be to get the fibers to stick.  I, however, am use to using more of a dry formula.  So, I struggled a bit.


I tried this a few different ways.  I tried both with just the Fiber Lashes and then also with my normal mascara as a base.  You can see my results in the pictures below.


1 - No mascara

2 - Younique Fiber Lashes

3 -  Normal mascara routine

4 - Normal mascara routine with Younique Fiber Lashes on top.

This is my conclusion …. I’m not really sure what all the hype is.  Yes, you can see a difference when I use the Fiber Lashes with my normal mascara.  You can see longer and fuller lashes… but do I really want to pay for all that different types of mascara?!  Plus here’s two cons:

1 – Because of the wet formula, when I tried to build up the look, I really struggled with getting my lashes to separate.  No matter what, I always had to go back in with another mascara and use it to separate my lashes. I am not a fan of the clumpy lashes and really had to work at unclumping them.

2 – This may just be because I have fairly long lashes naturally, but I struggled with getting the transplanting gel on my eye lid.  This isn’t something I’m unfamiliar with, but the thing that makes this a con is, it is damn near impossible to get off without removing my eye make up!  With all other mascaras, I just go in with a a blending brush and that will remove it.  As you can see in the picture below, I wasn’t able to get it to blend away.  You can still see a bit of the black in my crease. 


Do I hate this product, no, definitely not and  I will probably keep using this until I use it up.  However, I probably won't repurchase it.  I can see how someone with no length to their lashes could get this to build up and create a nice look.  However,  for the price, this is definitely a look you can achieve but finding the right mascaras to use.  Heck, looking at the pictures, it’s almost hard to tell which picture I have the fibers on. For me, I’m not thinking this is something that I will get much use out of.

I must say, I am slightly disappointed.  I was so looking forward to this product and I was so sure that because of the way people rave that I would surely fall in love with it!  This definitely goes to show how a product doesn’t always work for everyone!  That’s what I love about trying out and reviewing new things.  You may find something that doesn’t work for you, but you also might find something that is a new holy grail item!

Now, I must mention.  Younique came out with a new version of their fiber lashes on Wednesday. After doing some research and watching some videos, it seems to me like the things that I found as cons, haven't been fixed.  Bummer! Although, my pocket book probably is happy with the fact that I'm more impressed with my cheap drug store mascara and not the expensive one! Ha!

Next week week we'll return

Until next week lovelies!

Xoxo,

Mikal-Anne

Friday, July 10, 2015

Get Ready With Me Series Part 2 & CoverGirl 3-in-1 Foundation


Welcome back! I hope you enjoyed last weeks blog! I am really enjoying doing a series of blogs that are linked together! If you missed it, last week I talked about the NYX HD Concealer, if you'd like to check that out, click here!


Now... onto today's product... I used the Covergirl 3-in-1 foundation in shade 820, creamy natural.. When I am doing a full face routine my foundation is actually my second step ... well, third, if you count primer.  I will apply primer, a concealer that matches my skin tone to cover up my dark circles and then I will apply foundation.  

The 3-in-1 is a glass bottle with a pump.  Can you say YAY!  I love products that have a pump.  I feel like they are less messy and that it's easier to get to the product.  

I will pump about 1.5 to 2 pumps to the back of my hand.  I will apply a little more on the days that I skip using concealer under my foundation. 

I have applied this foundation both with a brush and a beauty blender and it works well both ways.  However, right now I am leaning more towards applying with my beauty blender for one reason.  I am struggling with a little bit of dry skin on my nose.  When I apply foundation with the beauty blender, my foundation doesn't seem to stick to my dry spots.  I just end up with a better finished product.


Now, addressing the picture.  The picture on the left I have only applied my moisturizer and primer.  The picture on the right is after I've applied the concealer and then my foundation.  

Now, what do I think ... you can probably already tell :-)

I LOVE this product and have been using it for a long time.  This is probably my 4th or 5th bottle that I've purchased.  It's one of those products that when I notice that I'm starting to get a little low, I go buy another bottle! I don't want to run out!

I would say that this a a medium coverage foundation that is definitely build-able.  Because I have freckles, I can't really rock a true full coverage foundation because it looks weird if I completely cover up my freckles.  However, I do need a good foundation that will even out the way my skin looks and this product does this!

I do notice that I will get a little bit of break down around my chin but I think that's because I am a face toucher.  I find myself resting my chin on my hand throughout the day and I think this cause it to break down a bit.  I have not noticed a breakdown anywhere else.

Easy to apply, long lasting, and a drug store foundation... SCORE!!

Have you tried this foundation out? ... What do you think?

Make sure to come back next week for a review of Younique Moodstruck 3D Fiber Lashes Review!!  This series will pick up the week after!

Until next time!

xoxo,
Mikal-Anne