Showing posts with label Hikari. Show all posts

Monday, December 19, 2016

GRWM: Blue Smokey Eye


And we're back with another Get Ready With Me.  I have to say, I've really been enjoying trying out new look combinations and seeing what I come up with.  This look today is one using some shadows that I have had for a long time, but had always been too intimidated to use.  They are super blue and dark.  I loved the shades and decided it was time to push myself out of my comfort zone a bit.  I must say I really like the look I got!! 

If you're interested in seeing the Get Ready With Me video, click here ... and keep reading for the products used!


Eyes:
  • Mary Kay Eye Primer
  • Mary Kay Sheer Mineral Pressed Powder in Ivory 1
  • Wet n' Wild Comfort Zone
  • Wet n' Wild Sweet as Candy
  • Morphe Shadow in Birthday Suit
  • Morphe Shadow in Grape Day
  • Morphe Shadow in Naught Girl
  • NYX Shadow in Cryptonite
  • Revlon Color Stay Eye Liner in Black Brown
  • Maybelline Line Stiletto in Black Brown
  • Morphe Shadow Vixen (bottom linner)
  • Morphe Shadow in Trouble (to set eye liner)
  • L'Oreal Voluminous Mascara in Black Brown
  • Almay Get Up & Grown in Black Brown


Face:
  • Mary Kay Face Primer
  • Benefit The Pore-Fessional
  • Kat Von D Lock It Foundation in Light 46 Cool
  • L'Oreal True Match Lumni in N1-2 Soft Ivory/Classic Ivory
  • Maybelline Master Conceal by FaceStudio Camouflagin Concealer in 10 Fair
  • Mary Kay Sheer Mineral Pressed Powder in Ivory 1
  • NYX Matte Bronzer in Light and Medium (I mix these and both bronze and contour with them)
  • Hikari Blush in Tango (link to review)
  • Milani Baked Blush in Red Vino (just on the apples of the cheeks
  • Becca Cosmetics & Jaclyn Hill Highlighter in Champagne Pop


Anastasia Brow Powder Duo in Medium Brown
NYX Mega Shine Lip Gloss in Beige

And that's everything that I used to get this look! I am so glad that I finally pushed myself to use these shadows.  I should know better than to let myself get intimidated.  Especially with Morphe shadows, they are soo easy to work with!  If you haven't tried them out,  I highly recommend that you do!!

I hope that everyone has had a happy holiday season so far!!

Until next time!

xoxo,
Mikal-Anne


***** Links listed above may contain affiliates links.****


** Not a sponsored video. Post contains my genuine recommendations and opinions. ***


Friday, July 24, 2015

Get Ready With Me Series Part 3 & Hikari Blus Review


Welcome back!  Happy Friday!  We’ve successfully survived another week!! 

This blog is part three of the Get Ready With Me and Review series.  In a series of blogs, I've gone over what I've used to create the look you see below.  The last two weeks we have covered the NYX HD Concealers (link) and the CoverGirl 3-in-1 Foundation (link).  This week we will cover the HIKARI blush.


Now, before we get into the blush, I need to catch you up on the steps between the foundation and the blush.  As covered in the previous blogs, you know that I first use a concealer that matches my skin tone to conceal any problem areas, then I apply the foundation, and lastly I use a concealer that is a little lighter than my skin tone to lighten up areas of my face.  After all of that I apply something to set both the concealer and the liquid foundation.

To set my concealer I use Tarte Smooth Operator.  I got a small sample around the holidays with something I bought. It's perfect to set my concealer!

To set my foundation I use Revlon Nearly Naked Press Powder in 010 Fair.

Next I use NYX Matte Bronzer in Medium. This is a staple in my makeup routine.  I discovered it years ago and have probably used it with every single makeup application I’ve done since then.  I use this to do both bronzing and contouring.  I am not someone who does a very harsh contour.  This is mainly because I am so fair, that too harsh of a contour doesn’t look right. 

Finally, I apply the HIKARI blush in Tango.  I got this in my Ipsy bag back in April (link) and I’m not going to lie, when I saw it, I was very intimidated!  I think the best description for the color is an electric watermelon! I’m so glad that I didn’t let that get in the way of me trying the blush because I LOVE IT! 


This blush has such an amazing color pay out, but it would be really really easy to get that horrid 80’s blush look.  I’m sure you know what I’m talking about.  That super bright color applied very heavily to the cheeks.  That wasn’t even a good look then!

To avoid rolling around looking like someone who is trying to relive the 80’s; I have found the best way to apply this foundation is with a stippling blush.  This allows me to apply a sheer amount and build it up until I get the look I am going for. 

The color adds a nice pink to the cheeks and gives a healthy glow.  I think this shade is absolutely perfect for spring and summer!  I honestly think it would be good for most skin tones too.  It gives that pinched pink to your cheeks, almost as if they are naturally that color and you don’t have blush on at all.

After I apply my blush, I pair this with a bit of a highlight because the blush is completely matte.  This is great for people who have oily skin and want to stay away from the shimmery or sparkly shades.  Today I used the Mary Kay highlight, but I’m any highlight would do. 

Next week, for the final blog in this series, will cover what I did for my eye look and a review on the Ulta Lip Crayon that I got as a sample when I did my Ulta order.  If you’re interested in seeing the lip crayon, it’s included in the blog I did about my Walmart and Ulta haul (link).

Until next week!

Xoxo,

Mikal-Anne

Friday, June 5, 2015

Smokey Everyday Face of the Day


Howdy howdy!  As I mentioned in my previous blog, last weekend I had a busy Saturday, visiting our local farmer's market with a friend, working in my garden, and heading to a graduation party for the daughter of a family friend.  When I was getting ready that morning, I knew I needed to do a full face look that would last all day.  When I say last day, I mean without a ton of touch up.  Cause, girls, I am not someone who is good at doing touch ups.  With the exception of my lip color, I don't often apply much after the initial application...  This is what I came up with!


Face makeup:

  • Rimmel Fix & Perfect Pro Primer
  • CoverGirl Outlast Stay Fabulous, 3-in-1 Foundation in 820 Creamy Natural
  • NYX HD Concealer in CW04 Beige - for covering up my dark circles
  • NYX HD Concealer in CW01 Porcelain - for additional coverage but mainly to highlight my under eye
  • Tarte Smooth Operator - to set my under eye concealer.  This is not picture above.  I got a small sample around the holidays with something I bought. It's perfect to set my concealer!
  • Revlon Nearly Nake Press Powerder in 010 Fair - to set my foundation.  I apply this lightly all over my face, being careful to not apply where my concealer is.  If it catches where my concealer is, sometimes it can settle into lines. 
  • NYX Matte Bronzer in Medium - I both bronze and contour  with this product.  
  • HIKARI blush in Tango - Love love love this shade.  It's super pigmented so I apply with with a stipling brush to ensure I have a light hand with it.  I got this in my April Ipsy bag, check out the post here!
  • Mary Kay highlight in Pink Stardust - I lightly apply this on the tops of my cheekbones.  Tango is a matte blush and sometimes I just want a little highlight on my cheeks!
Eye make up:
  • Mary Kay Eye primer
  • Ulta eye shadow in Bermuda Sand - I apply this all over my eye lid and all the way up to my eye brow.  I seriously love this shadow! I don't think I do a single eye look that doesn't start out with this shade.  It is great as a base and just as great all by it's self!  
  • Urban Decay eye shadow in Beware from the Oz Great & Powerful pallet - I take this on a big fluffy brush and apply it in my crease.  I use this as a base to start darkening up my outer corner.  But because I apply it with a big fluffy brush it also sets down the shade to work as a transition shade. 
  • Urban Decay eye shadow in West from the Oz Great & Powerful pallet - This is the dark shadow that I use to darken up my outer corner of my eye lid.  I place this from my outer corner inwards and start up into my crease.  This is a shade that can be really dramatic or an every day shade.  Just apply as much until you get the look you want.  I often time also bring this down onto my lower lash line to work as my eye liner on my lower lid.  It has a shimmer to it that is beautiful!
  • Mary Kay eye shadow in Cooper Glow - Ah! This is such a beautiful shade! It's great for just adding a little extra kick to your eye look.  I take a big fluffy brush and use this to buff out the colors already in my outer corner in and crease.  It adds a little extra without looking like you've put whole other color into the mix.
  • Ulta eye shadow in Au Naturel - This is another shadow that use in every look I do.  I take this on a big fluffy brush and I buff and blend out the edge of the other shadows up to my eye brow.  This is a good skin tone color that will make sure you don't have any harsh edges.
  • Revlon Color Stay eye liner in Brown - I apply this on my upper lash line and my lower lash line.  Then I use the built in smudger to smudge out my lower lash line.  I only place this from my outer corner to about 3/4 of the way in.  I find on my eye, it is too harsh of a look to go all the way to my inner corner.
  • Ulta eye shadow in a dark brown color - Sorry guys! I depotted this color and now I don't know what shade it is! This is a color that matches the eye liner I use on a daily basis.  I use this on an eye liner brush and use it to set the eye liner I have applied. This sets the pencil liner and also soften the edges.
Don't judge me, but I use three mascaras! Yes, three!  But the look I get, I just can't get with just one.  What I love is that with the three mascaras I get three different consistencies of mascara and brushes. This allows me to lengthen, built up volume, and ensure I don't end up with those spidery and clumpy lashes.  No girl has time for that!!
  • Revlon Lash Potion by Grow Lusious in Blackened Brown
  • L'Oreal Paris Extra Volume Collagen Mascara in Black Brown
  • Almay One Coat, Get Up & Grow in Black Brown

Lips and Eyebrow Makeup:
  • Chella Eyebrow Color Pencil in Tantalizing Taupe - I got this in my May Ipsy bag, read my blog about it here!
  • Jane Iredale Bitty Brow Kit - I use the powder in this kit to soften the edges of the pencil
  • Mary Key Eyebrow Gel
  • NYX lip liner in Nude Pink
  • Tarte LipSurgence in Romantic
  • Tarte LipSurgence Lipglass in Visionary
Now, how did it all last... below is a picture I took at the graduation party.  I put on my makeup that morning around 9 am and this picture below is taken probably around 8 pm... 
  • My my lip color has rubbed off.  We ate dinner and I never re-applied my lip color.  
  • My hair - I had taken out my bobby pins that had the front of my hair pinned up because they were bothering me.  It rained and so the curls in my hair fell a bit flat
  • My foundation and concealer has lasted, but my cheek color and bronzer has faded a bit..
Over all, I think this looks good figuring between applying it and this picture I had gone to the farmer's market, planted in my garden, and gone to the graduation party!  


What do you think!?  Would you want to try any of these products if you were looking for a long lasting look? .. I hope you enjoyed this look!  I wear this look often and these seem to be my go to products that I know I can count on!

xoxo,
Mikal-Anne

Monday, May 25, 2015

Monday Morning Coffee: April Ipsy


Hi lovelies!  Ok, so I know, this post is SUPER late! Time has just been flying by with everything going on.  So... better late than never, right!? 


Hikari Cosmetics Blush in Tango

What Ipsy says: 

"What it is: Vibrant, easy to blend color that highlights the cheekbones.
What it does: Designed to highlight your complexion, this weightless blush can be used lightly for a fresh look or layered for a dramatic look. An effortless application to the cheekbones that lasts all day!"

I LOVE THIS!!  Seriously!  This is a gorgeous shade! I have pretty much been using this since the day I got it.  The blush is super pigmented and you have to use a light hand when you are applying it.  Otherwise you will end up looking like someone out of the 80’s! I have found that a stippling brush is the best to apply this blush!


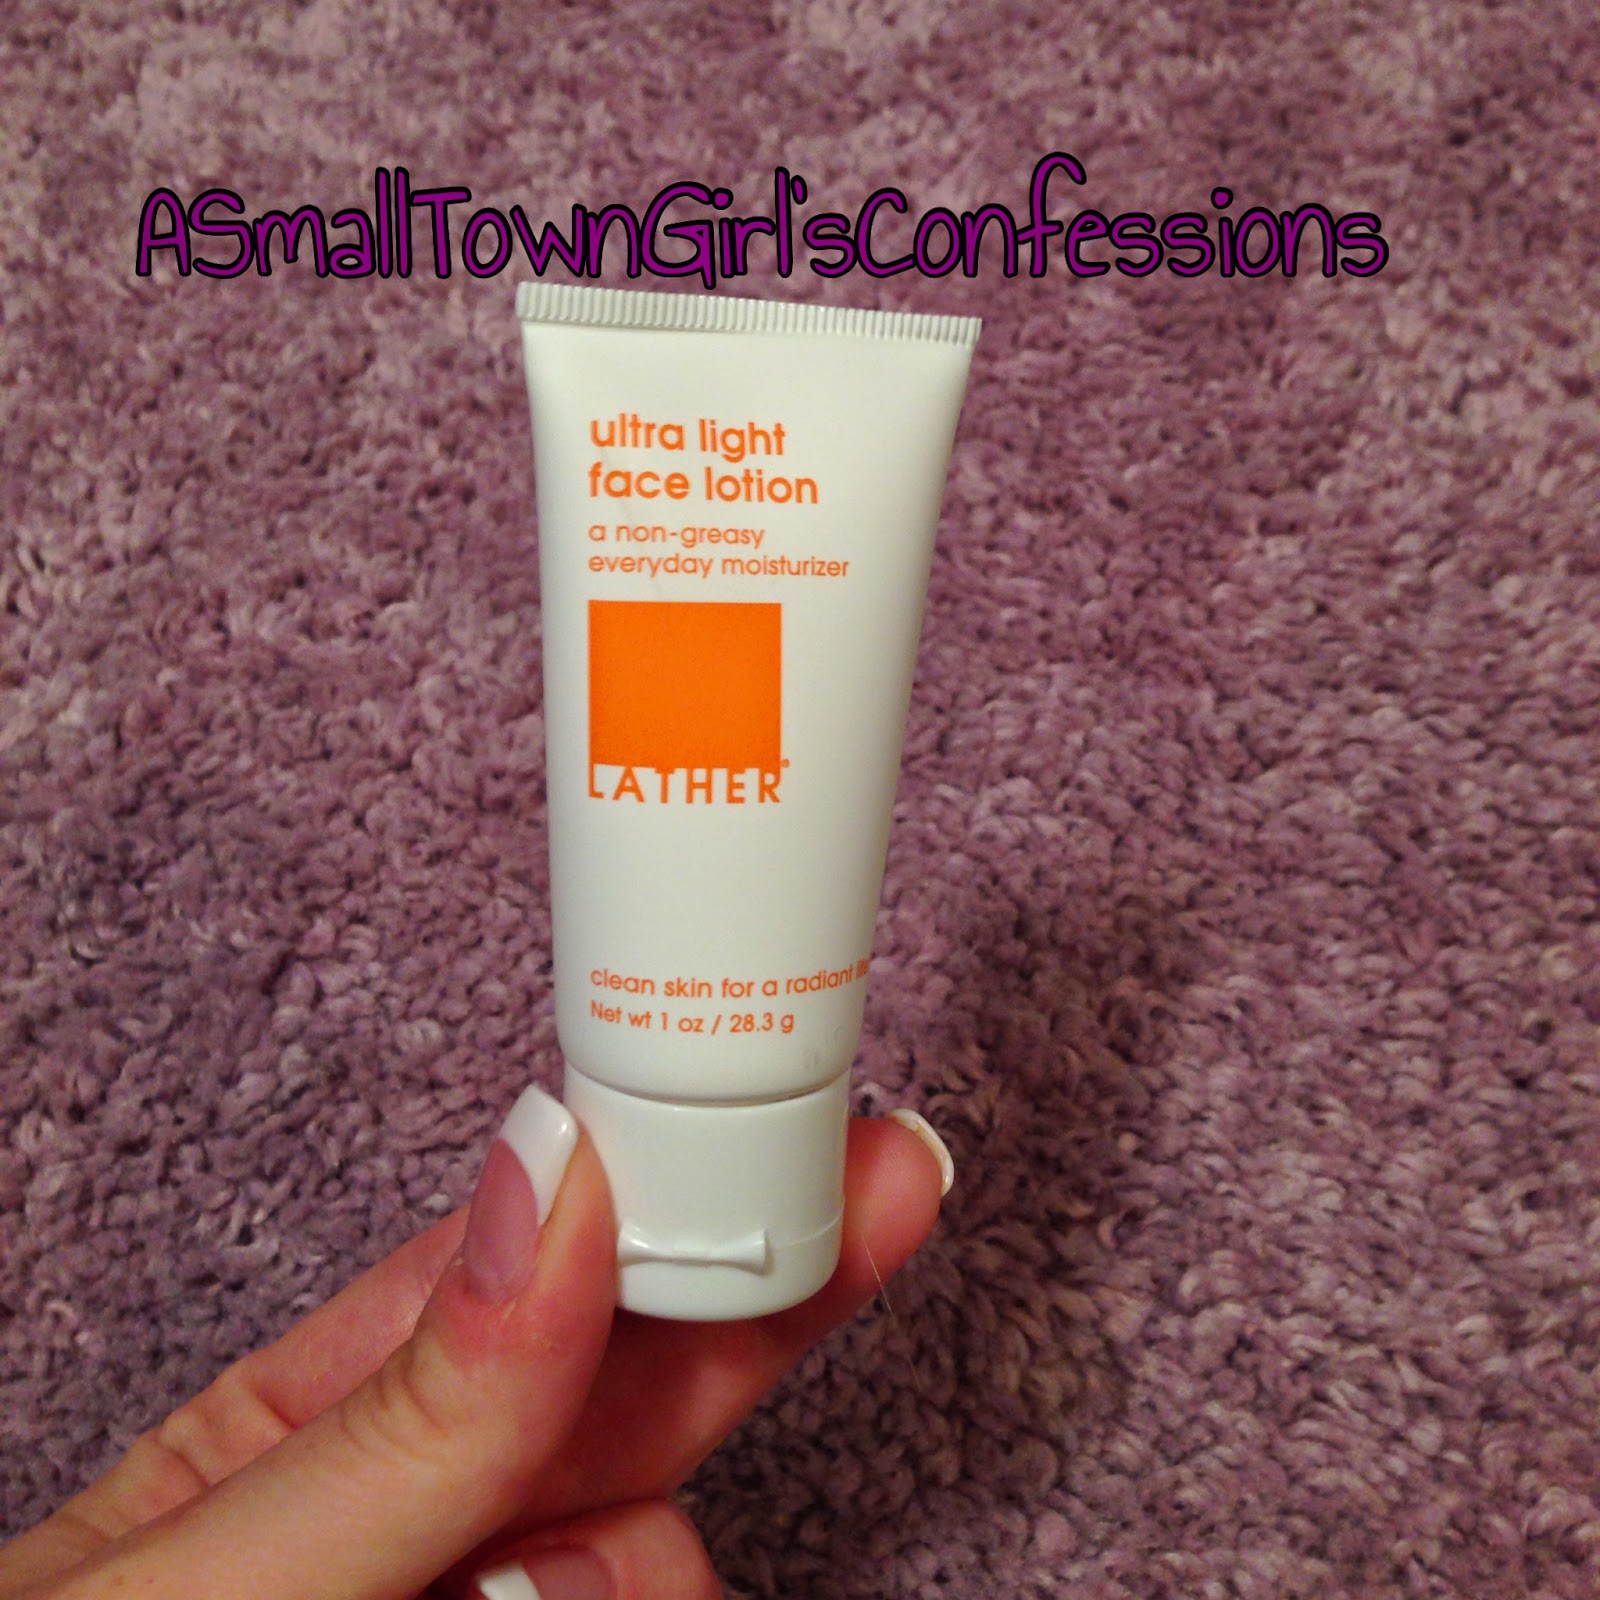
LATHER Ultra Face Lotion

What Ipsy says: 

"LATHER’s most popular facial moisturizer, this gentle nutrient-rich botanical lotion is perfect for normal-to-oily, combination or sensitive skin. This lotion has a lightweight texture, absorbs rapidly and does not leave an oily film on the skin. Special ingredients, such as borage and grape seed oils, make this lotion especially effective for damaged or problem skin. Those with sensitive skin will find it gentle and non-irritating. Paraben-free."

Ok, being honest, I haven't tried this one yet... I get nervous trying new moisturizers because my face can be so sensitive and super reactive when I try new skin care...


theBalm Cosmetic NUDE Dude Eyeshadow Single in Flirty

What Ipsy says:

"Introducing theBalm's latest addition to the Nude series... Nude Dude! Get a quick look using any combination of these triple-milled shadows or dress up your look by adding water to transform your favorite shades into loyal liners. The shadows can be worn wet or dry and alone or layered for added intensity, so go ahead and cover (or uncover) your eyes."

Ipsy describes this color as a shimmering golden violet and that is the perfect way to describe this shade.  It is really cool! I'm not sure my picture even really does it justice.  The shade can really change depending on how the light hits it.  

I do think this is one that you have to apply carefully because of one reason.  when I first got my Ipsy bag, I always instantly swatch everything I can.  I swatched this one on the back of my hand, much like I did in the picture above.  Later that day, I still had this on the back of my hand and when the light hit it just right, I thought, when did I get that bruise. Then, after further inspection, I remembered it was just the eyeshadow!!... So, be careful! You don't want to have people thinking you have a black eye!!!


MicaBeauty Eye Primer

What Ipsy says:

"MicaBeauty Eye Primer is perfect for everything from sealing in eye shadows and foundation, to enhancing your all-day look. Go from shimmer to matte in just seconds. This waterproof formula provides the perfect foundation for a long-lasting, smudge proof look that is designed for your active lifestyle. This eye primer helps even out skin tone as well as extending and intensifying your mineral eye shadows, without creasing, smearing, or fading."

I have tried this product once and that was enough for me! This is by far the worst eye primer! It is super dry and cakey!  I had a hard time getting it to smooth out on my eyelid.  The whole time I was applying it, I felt like I was tugging at my eyelid. Then, my shadow didn't evenly apply and it creased like crazy!!... This one is definitely going into the drawer of misfits to never be used again!


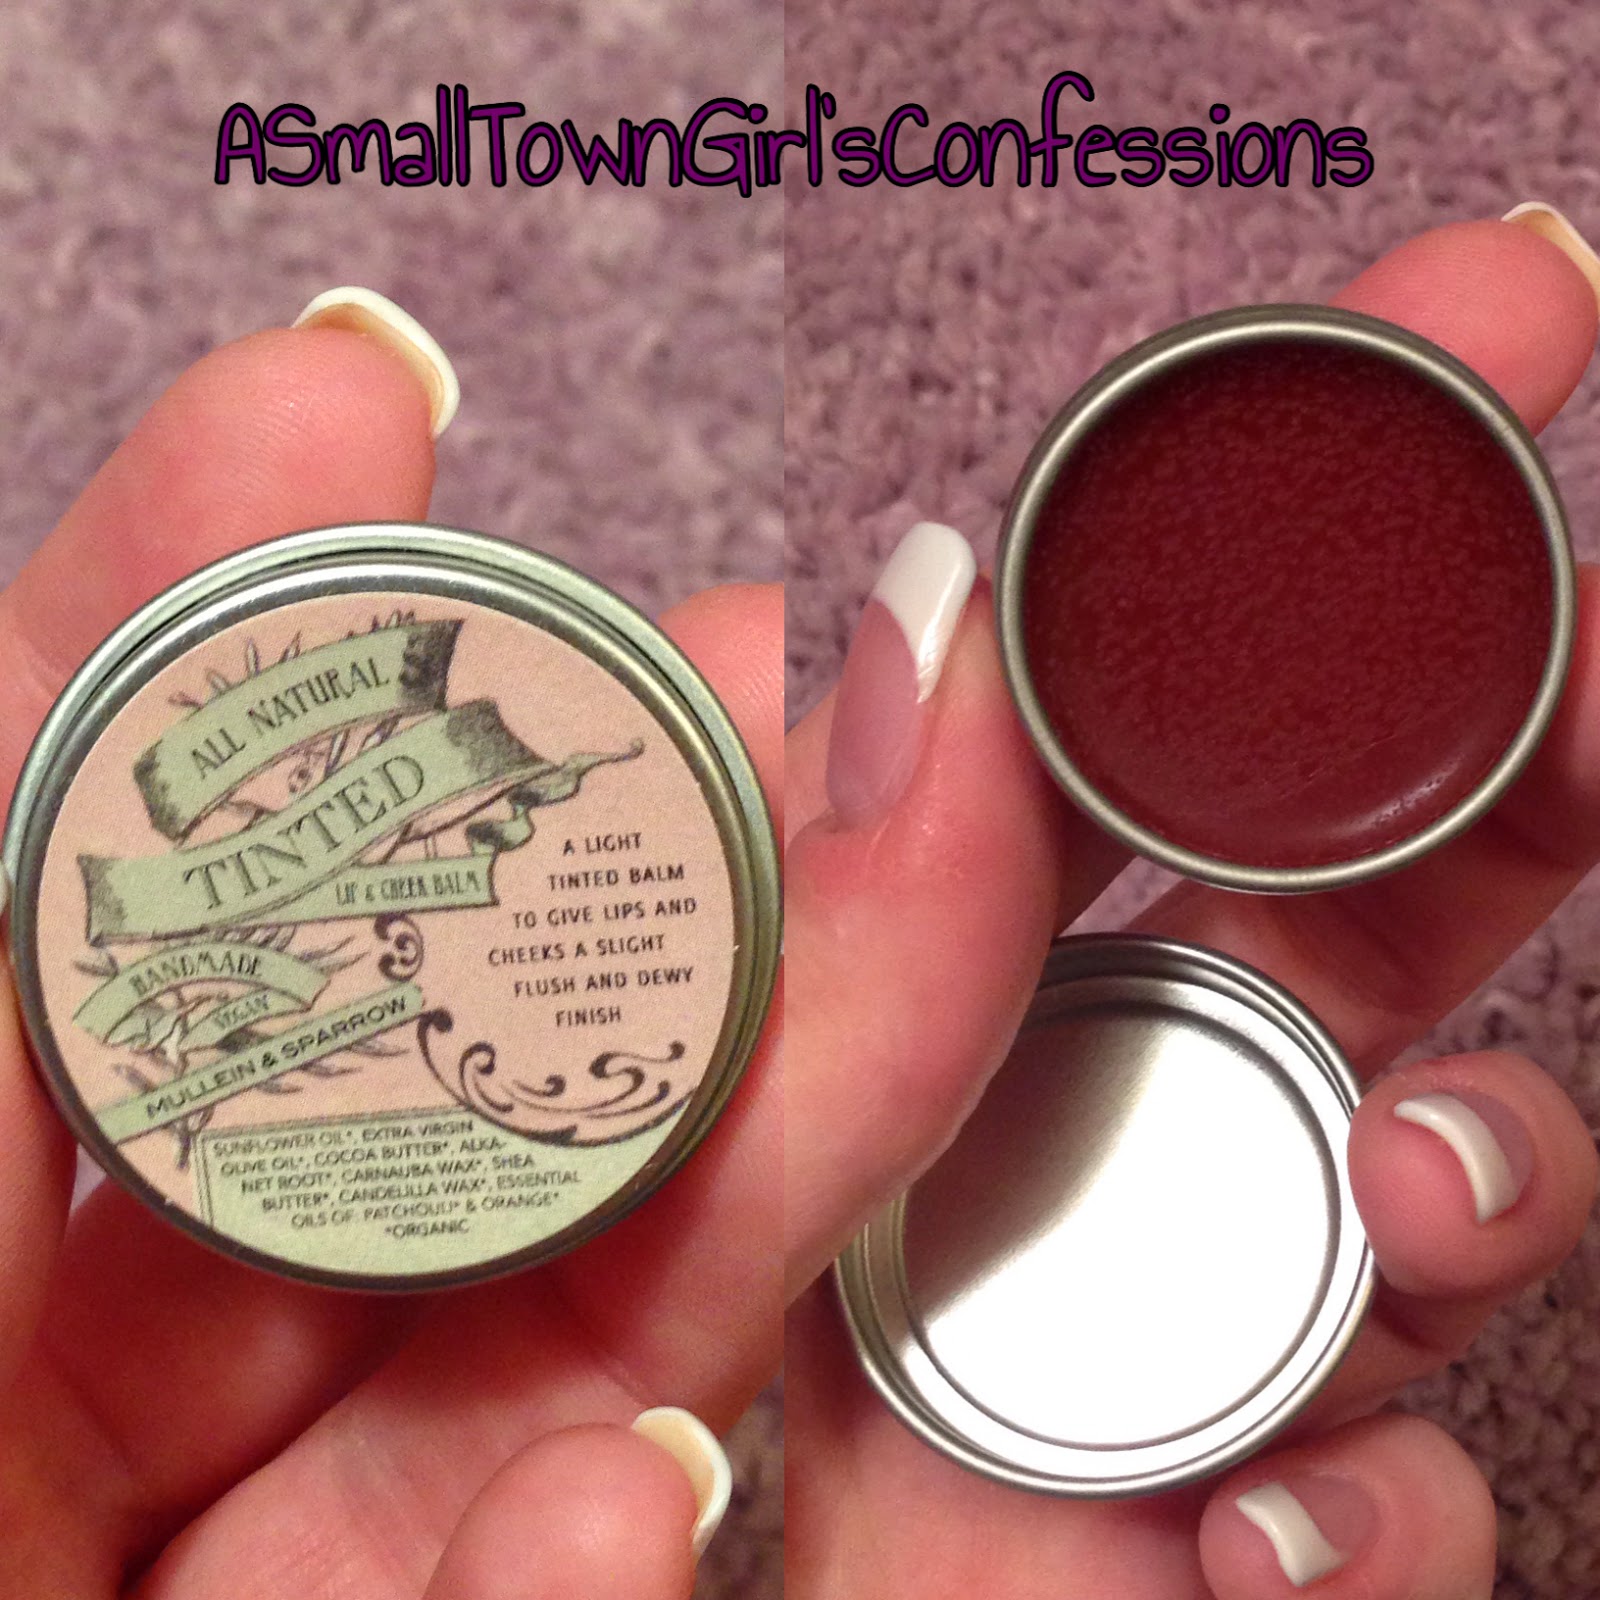
Mullein & Sparrow Mini Lip & Cheek Tint

What Ipsy says:

"The Mullein & Sparrow Mini Lip & Cheek Tint is an all-natural, sheer, tinted balm that gives your lips and cheeks a slight flush and dewy finish. Apply desired amount to lips for nourishment, protection, and color. Dab a small amount on cheeks as a light cream blush. It’s perfect for beauty on-the-go; it brightens the whole face with a sheer rosey flush for the cheeks, gloss for the lips, and a sweet orange scent!"

When I opened this and saw the color, I was super excited... for a second and then I could smell it! I can't put my finger on what it smells like, but it is awful!!  I am so disappointed that the smell is so bad because this is such a beautiful shade!

Cost break down!
Hikari Cosmetics Blush in Tango (link) - $15.00
LATHER Ultra Face Lotion (link) - A 2oz bottle is $21.00. The bottle it got was 1oz = $10.50
theBalm Cosmetic NUDE Dude Eyeshadow Single (link) – this is a single of a big pallet that costs $36.  The single breaks down to $3.
MicaBeauty Eye Primer (link) – The full product sells for $44.95 and the one I got in my bag is half the size - $22.00
Mullein & Sparrow Mini Lip & Cheek Tint (link) – This is a full size product - $10

And the grand total is .......... $60.50!!!!!