
Good morning lovelies!! We made it to Friday!! Woohoo. I don't know about you but I always feel like I have accomplished something when I make it to Friday in one piece! Ha!
This year I have been super motivated to have a garden. I'm not sure why because I have never done one before. I had thrown around the idea of starting some veggies in pots at my old place on the patio, but it never happened. This year however, I have a yard and access to a garden and I've decided, this year, I will have a garden! I'm so excited at the idea of growing veggies and having lots of pretty flowers!
The gardens I have access to were a hot mess! I'm not going to lie, I'm about two weeks into trying to get them cleaned up and I still have some work to do! It's been a job for sure! I'm not going to lie though, it has been so relaxing!
Fun little side note: Wednesday night after I was done doing some work in the garden I decided to check the sprinklers and make sure that they were all angled to cover the garden. I have this super cool PCP pipe sprinkler set up and I needed to make sure all spaces were getting water. Needless to say, I unintentionally ended up soaked! It's was kind of funny!!
After a long conversation picking my mom's brain about gardening I decided that I was going to start my plants/flowers from seeds. My mom had done a lot of gardening, they are currently starting grape plants! I'm not that adventurous and I am just doing simple veggies. I picked carrots, beans, and cucumbers. I also picked up two cherry tomato plants and some sunflowers that had already been started. I decided to start the majority of my plants and some flowers as seeds is because A - it's cheaper and B - I found this super easy inside at home greenhouse.

It's called the Jiffy Professional Greenhouse. Basically it is a plastic black container with a clear plastic topper. Inside there are 72 pods of soil. To start planting you take warm water (about 10.5 cups!) and pour it into the container, wait for the water to obsorbe and then put 2-3 seeds inside the soil pods. Water when the soil turns a light brown, and keep out of direct sun until all seeds have sprouted. Prop open the top with the first sprouts and then completely remove when all have sprouted. Once all of your seeds have sprouted you then place them in a sunny location. Once you are prepared to plant the pods, the directions say to place the container outside in the shade for several days, bringing in at night, and gradually introduce sunlight. The directions say that this will harden the pods and prepare them for planting. Once you're ready to plan, you would plant the pods just how you would already started plants that you purchase from the store.
It's that easy!!
So, I came home last Friday (5/8) and planted all of my seeds and then placed the containers on the freezer in my basement. It's a warm space that is out of the sunlight. The tops steamed up a bit for a little while. Actually, I think for the first day, I noticed there was a fogged look to the top.
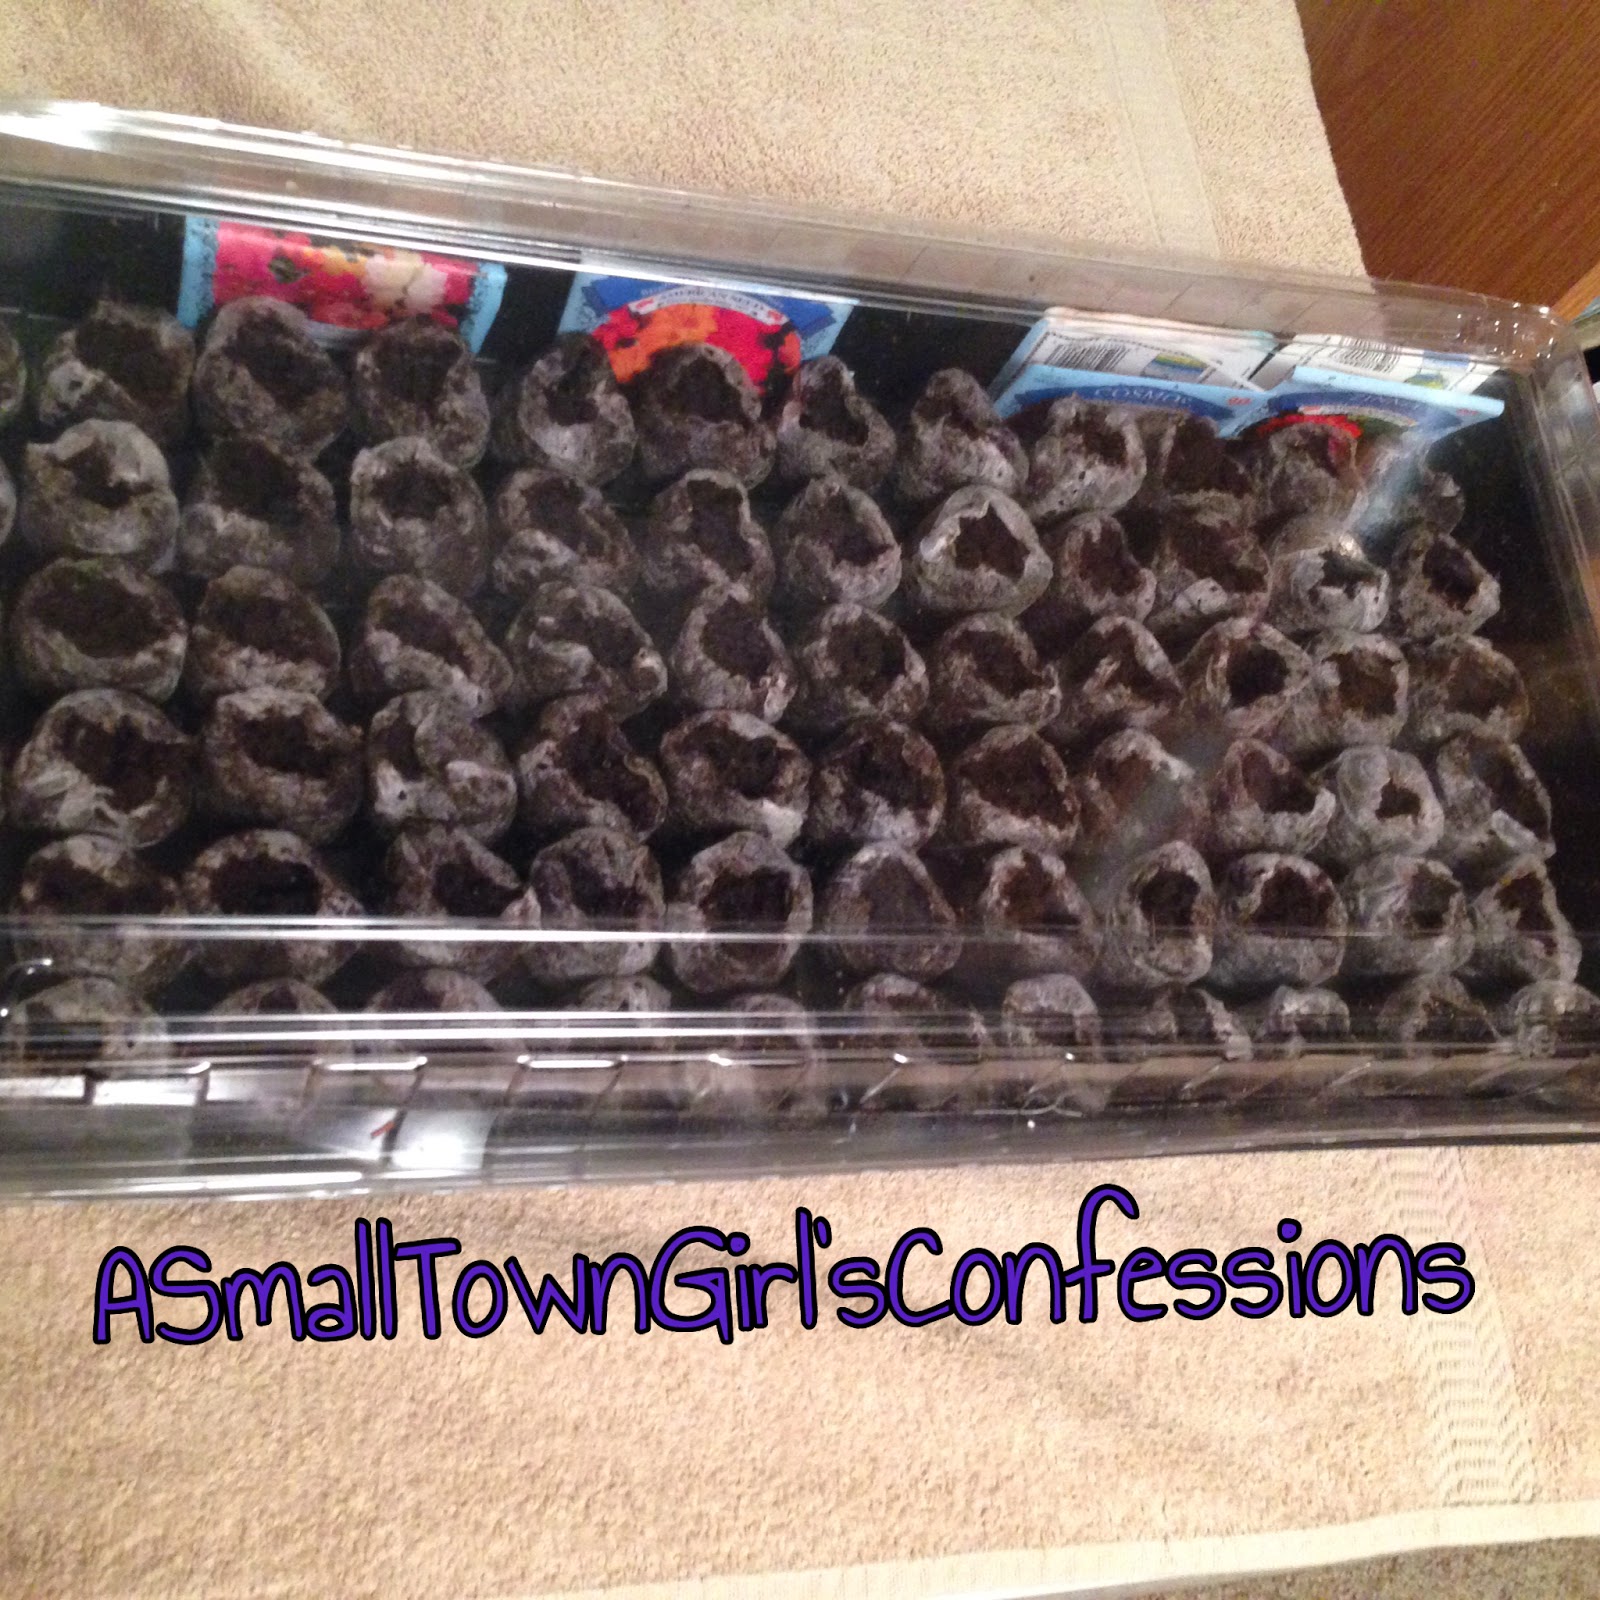
Here's a picture of the night they were planted:

Now, this is Thursday 5/14. I already have sprouts!!!

I will have to do a follow up blog when I finally transplant the pods but I am super excited!
I am super disappointed that I didn't do a before picture of the garden before I started cleaning it up. Once I have everything planted I will have to do a follow up and show you what has transpired. Fingers cross I have some living plants! ha!
xoxo
Mikal-Anne
No comments:
Post a Comment